Introduction
This article will show you how to add or change primary and non-primary authorisers after the contractor has already been added to the contract.
Jump to
Terminology
Primary authorisers. These users receive notifications when the contractors that they are marked as 'Primary' for, submit a timesheet.
Non-primary authorisers. These aren't explicitly selected, they are simply not the primary authorisers. These users can still see the timesheets and authorise them, they just don't receive notifications.
Contract detail. This is the page that contains all the details for entities relating to that contract including contractors, authorisers and timesheets.
Contractor detail. This is the page that contains all details for entities relating to that contractor with relation to that contract.
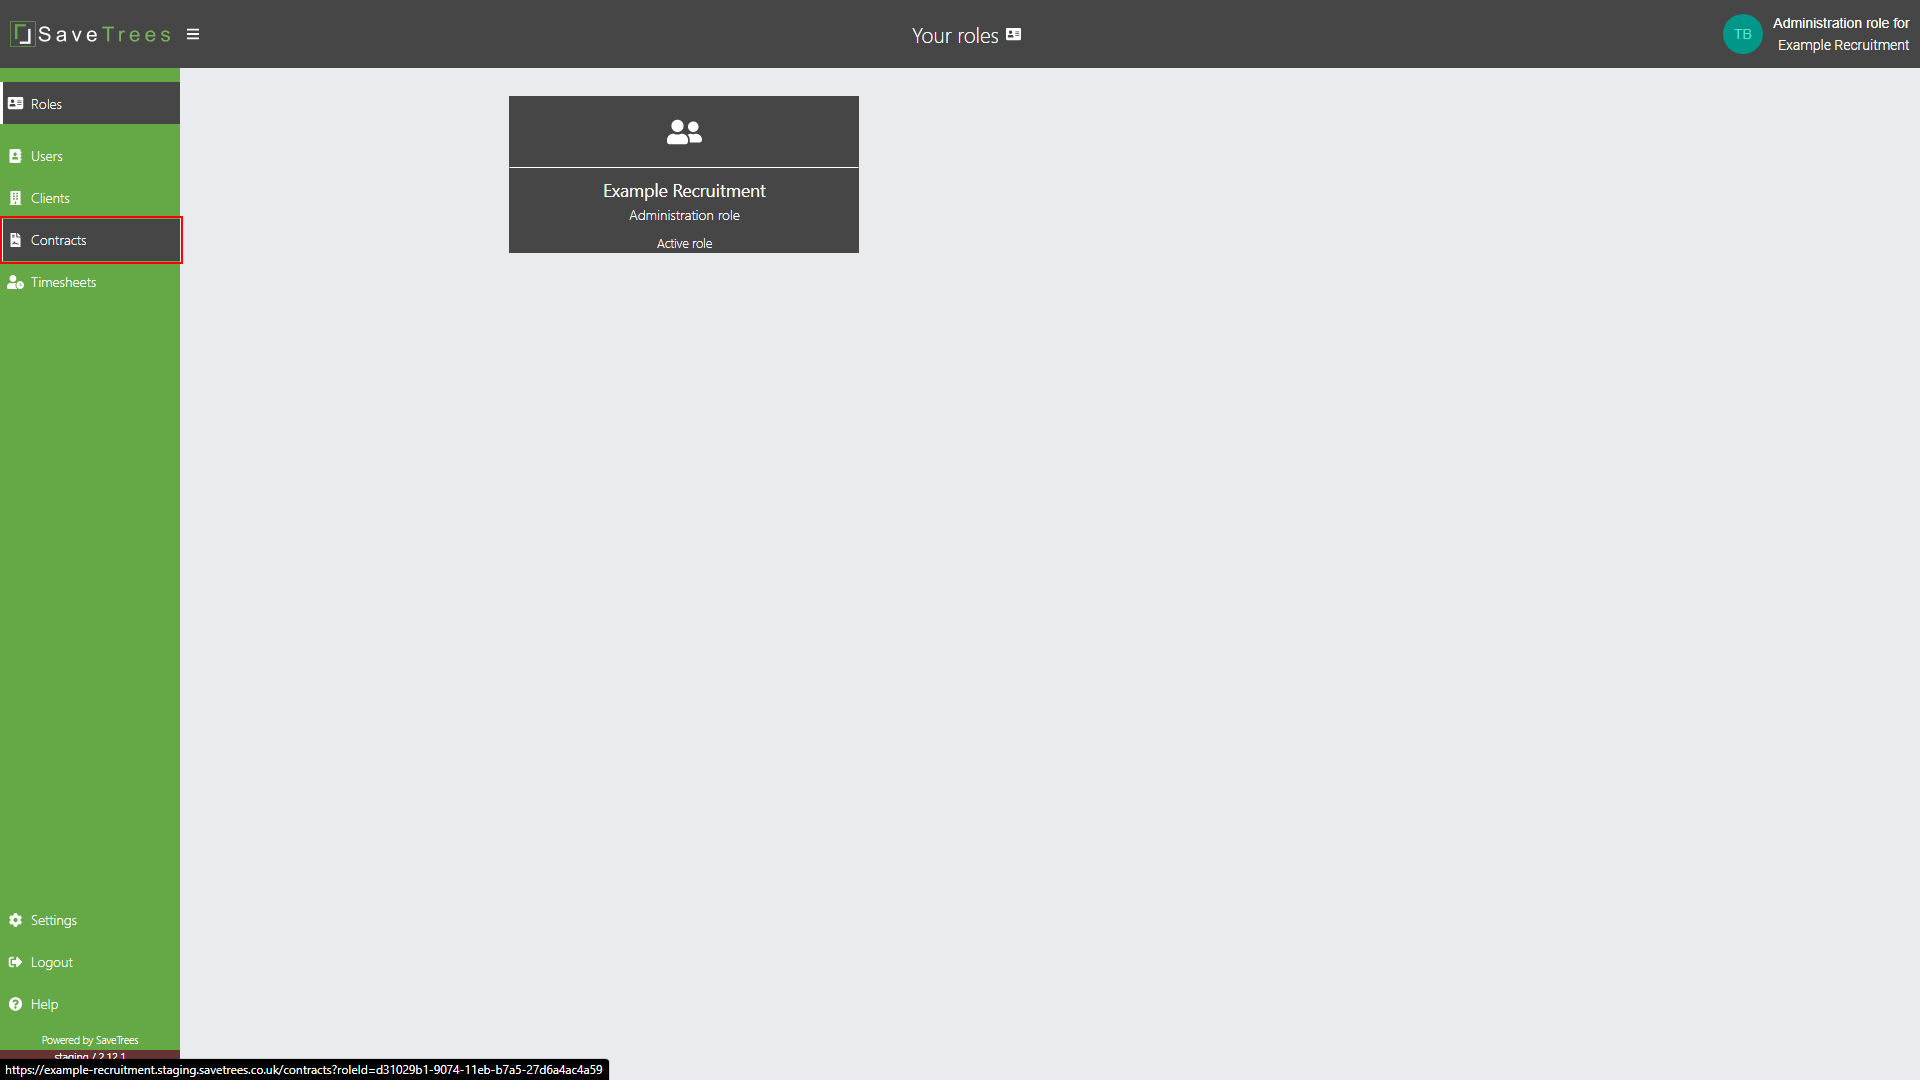
1. Navigate to your 'Contracts' page.
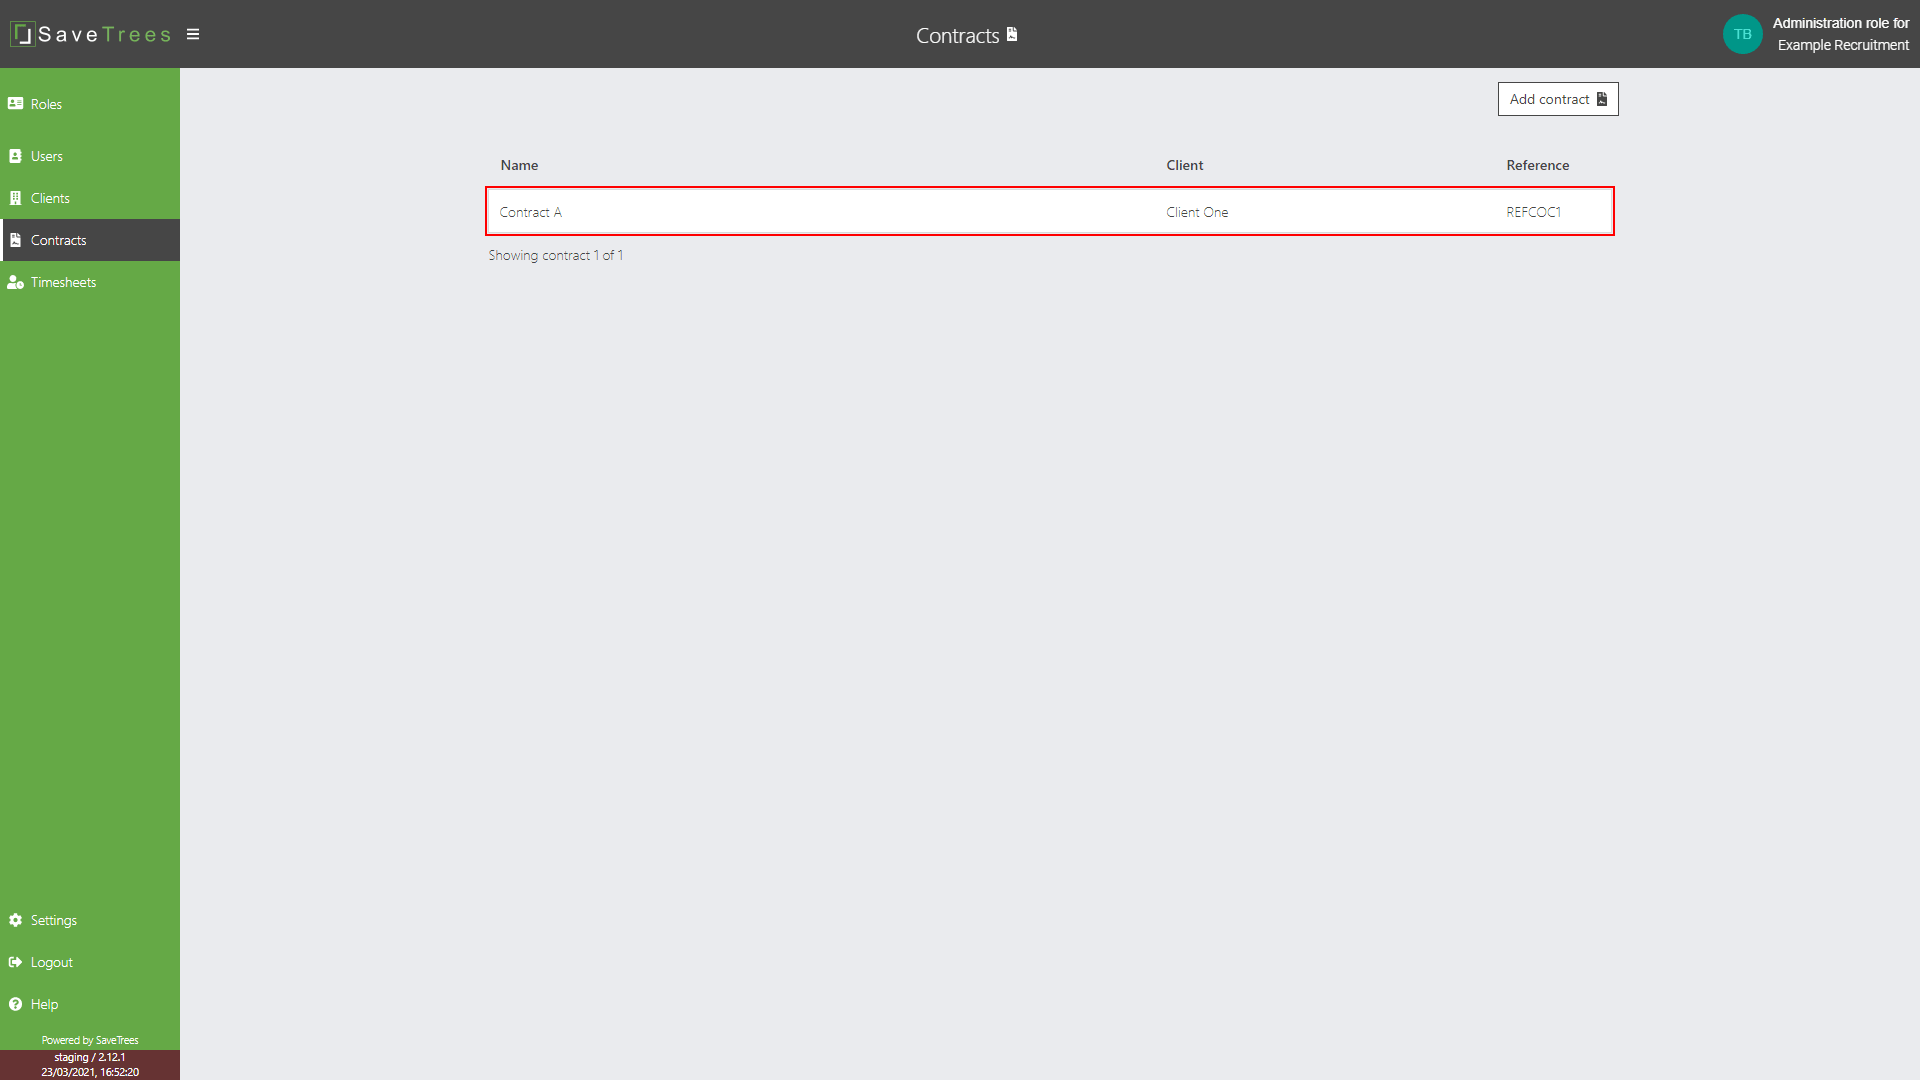
2. Navigate to the 'Contract detail' page by clicking on the row of the contract.
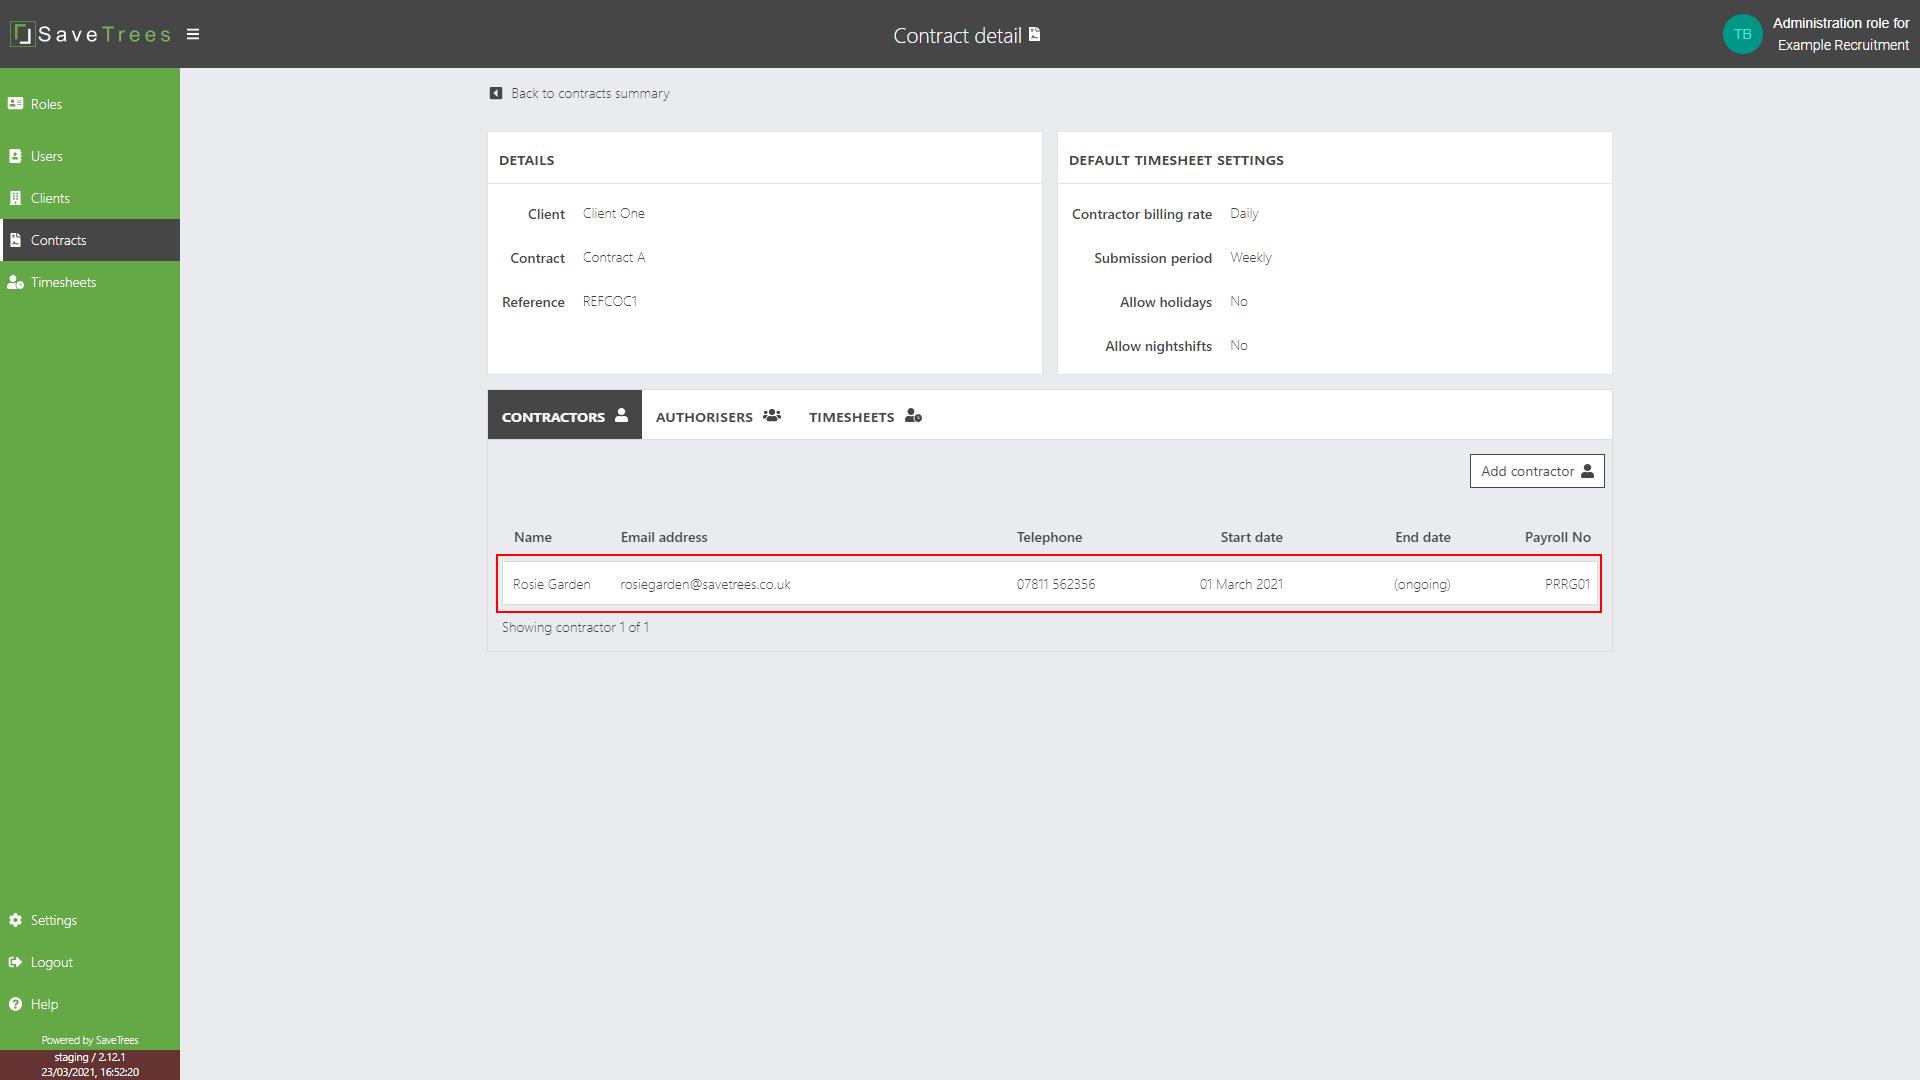
3. Select the contractor for whom you would like to edit.
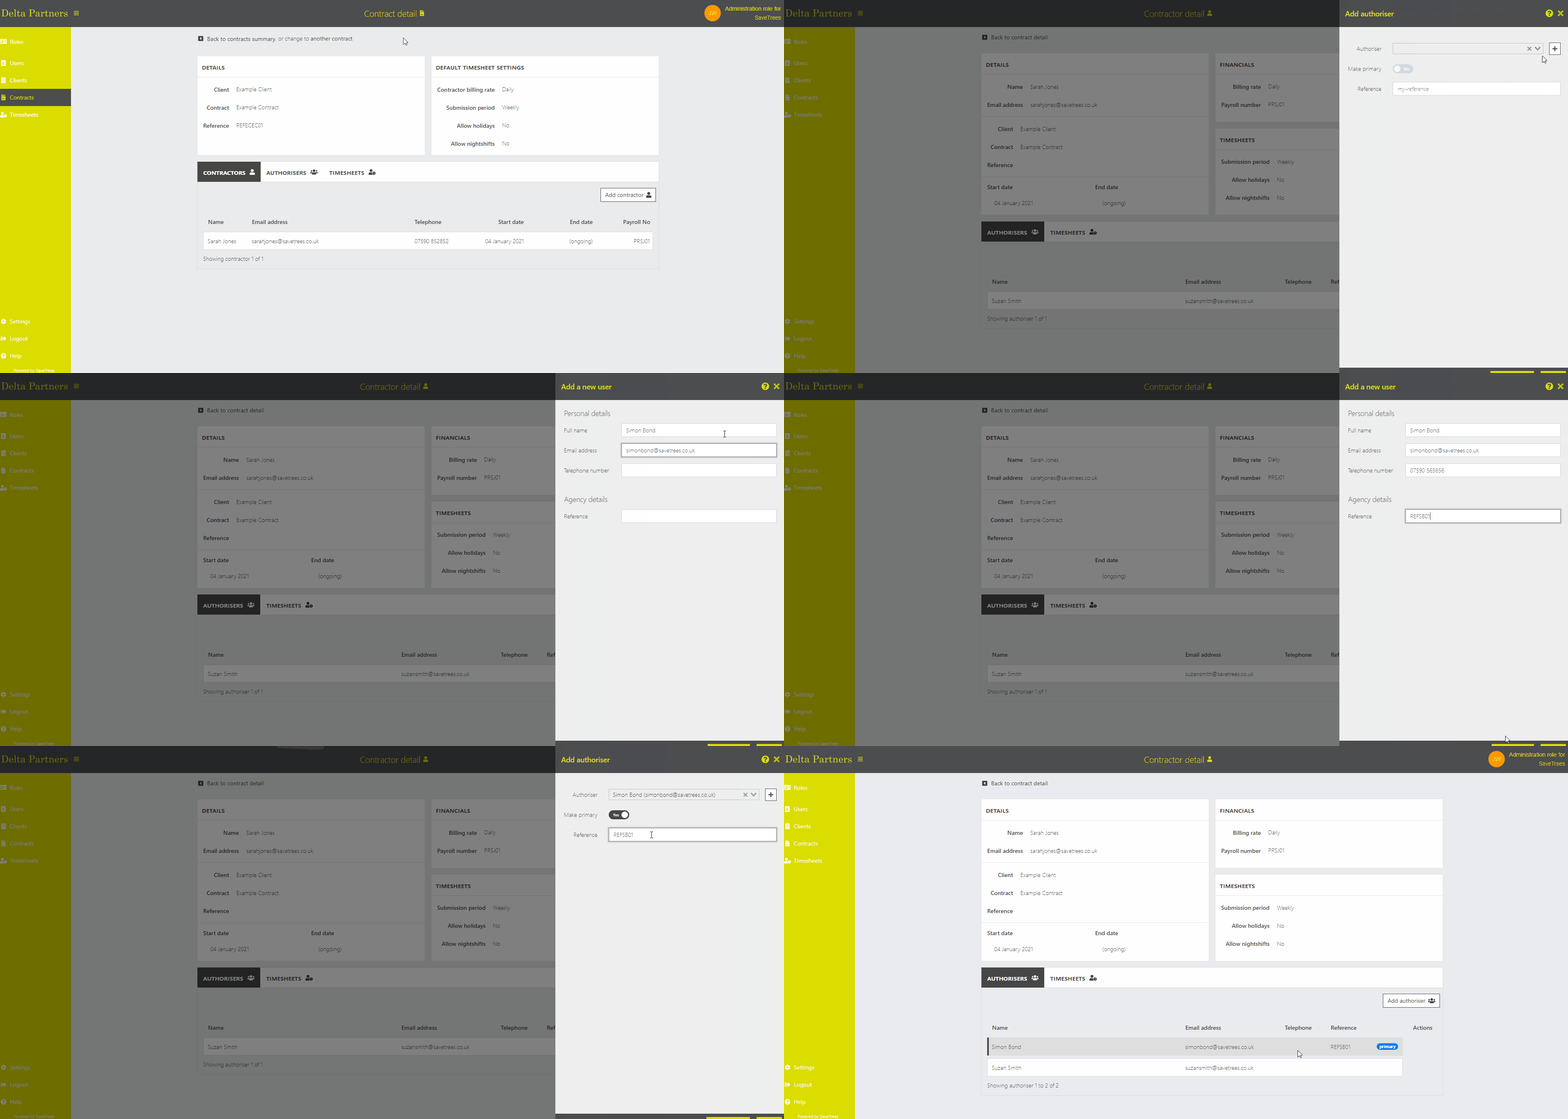
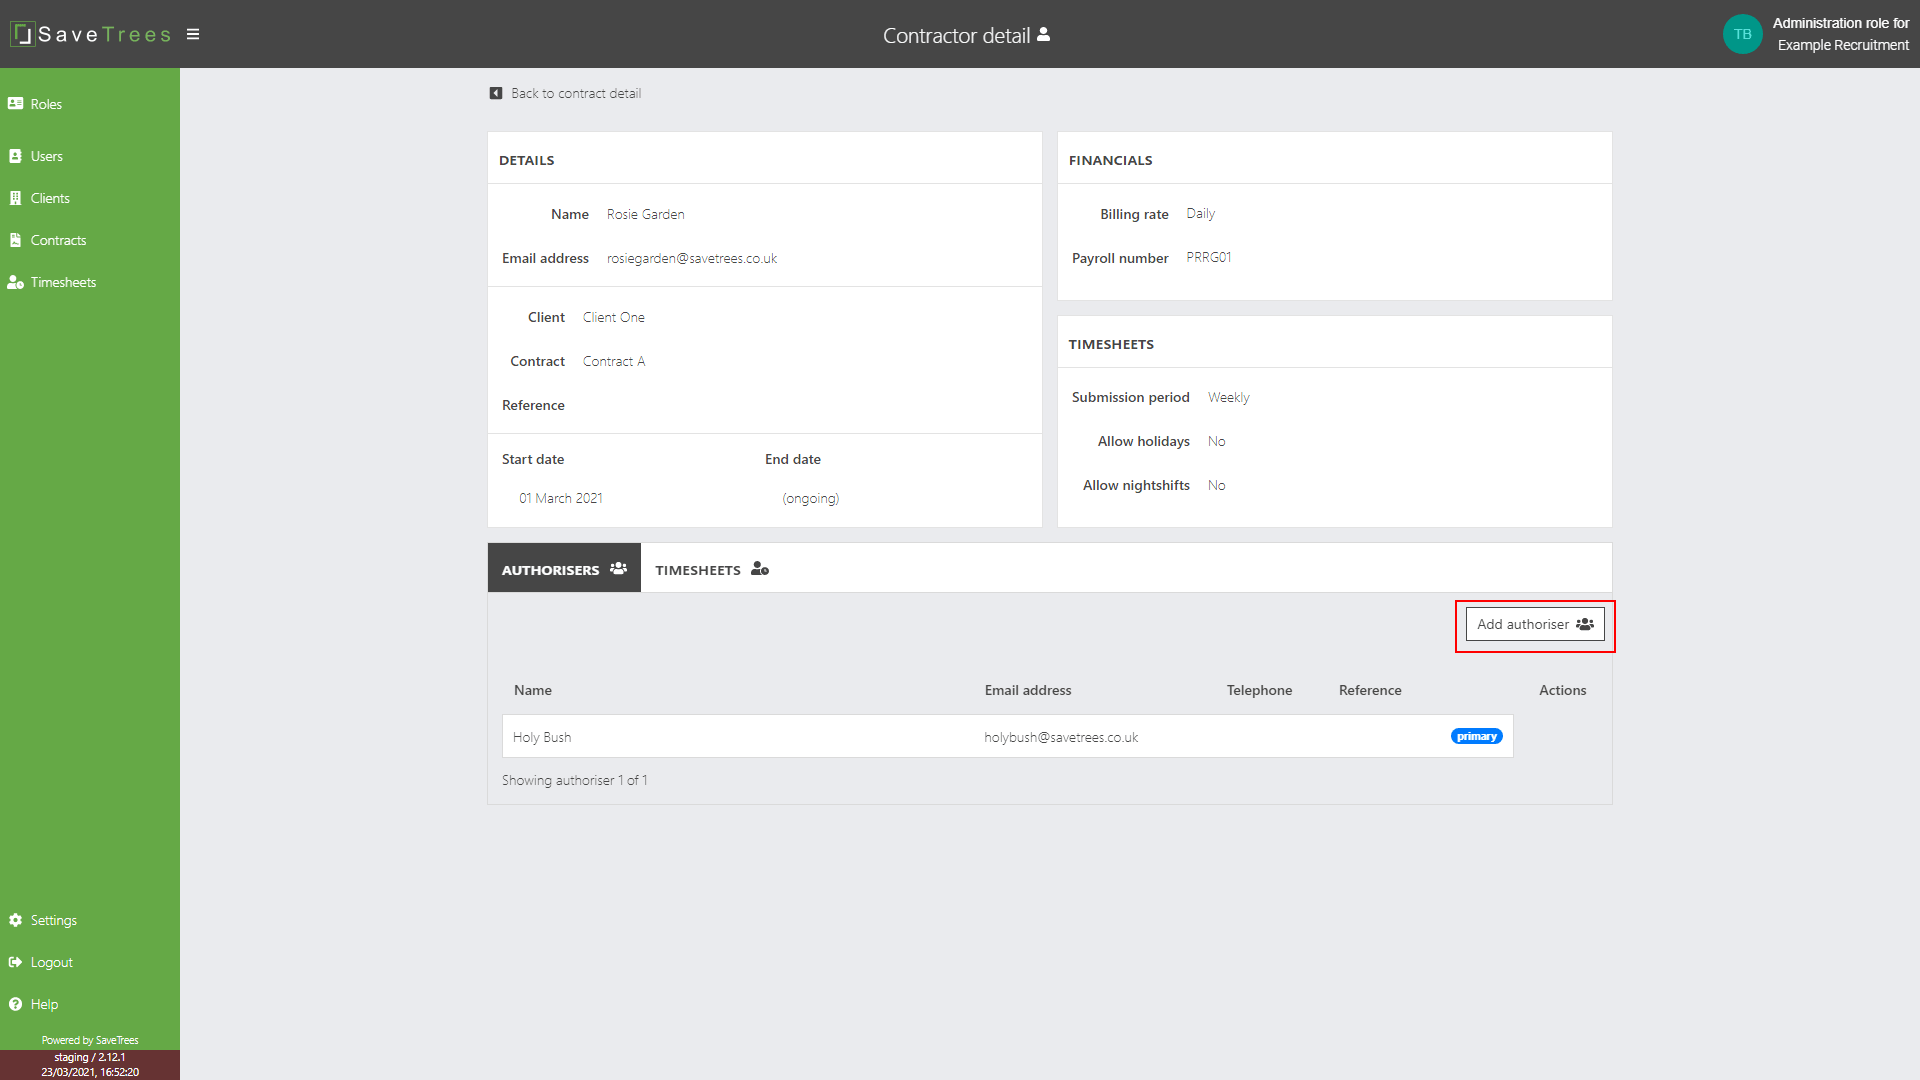
4. Now you are on the Contractor detail page, under the Authorisers tab, select 'Add authoriser'.
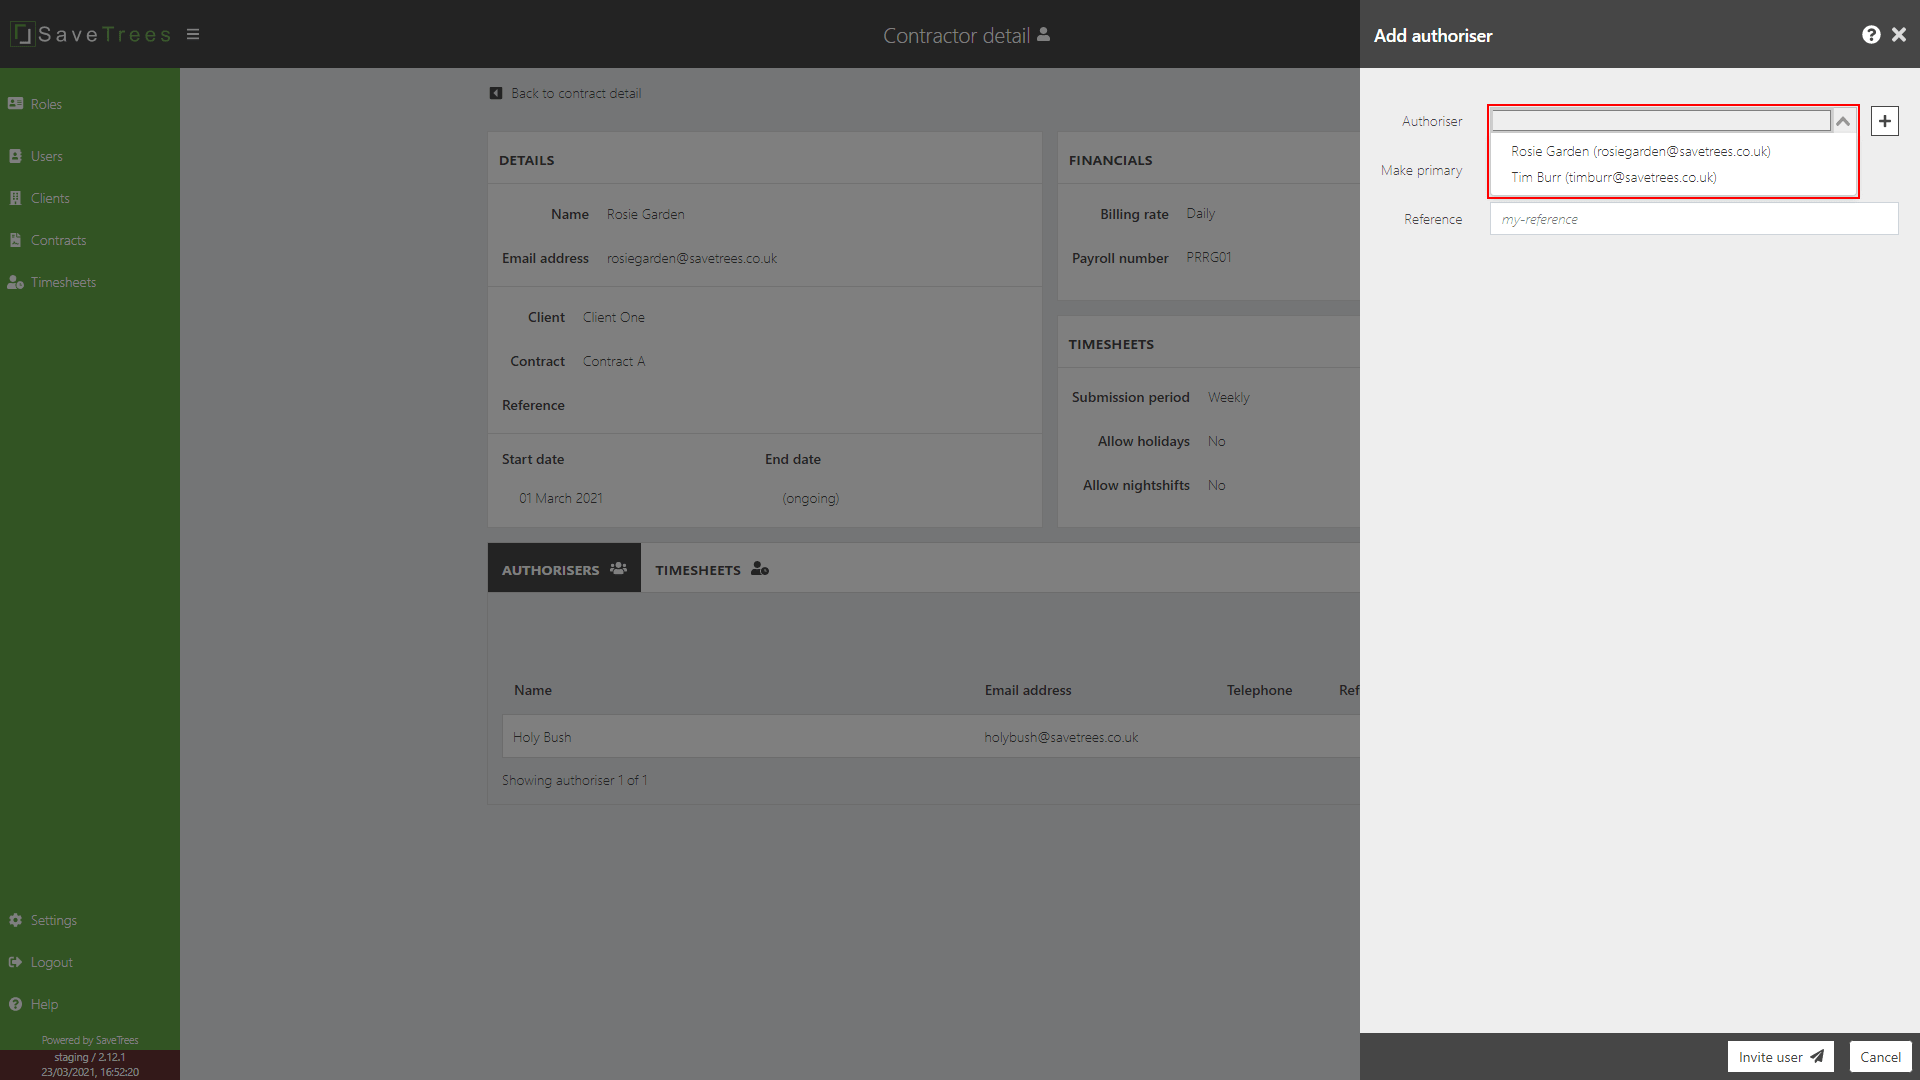
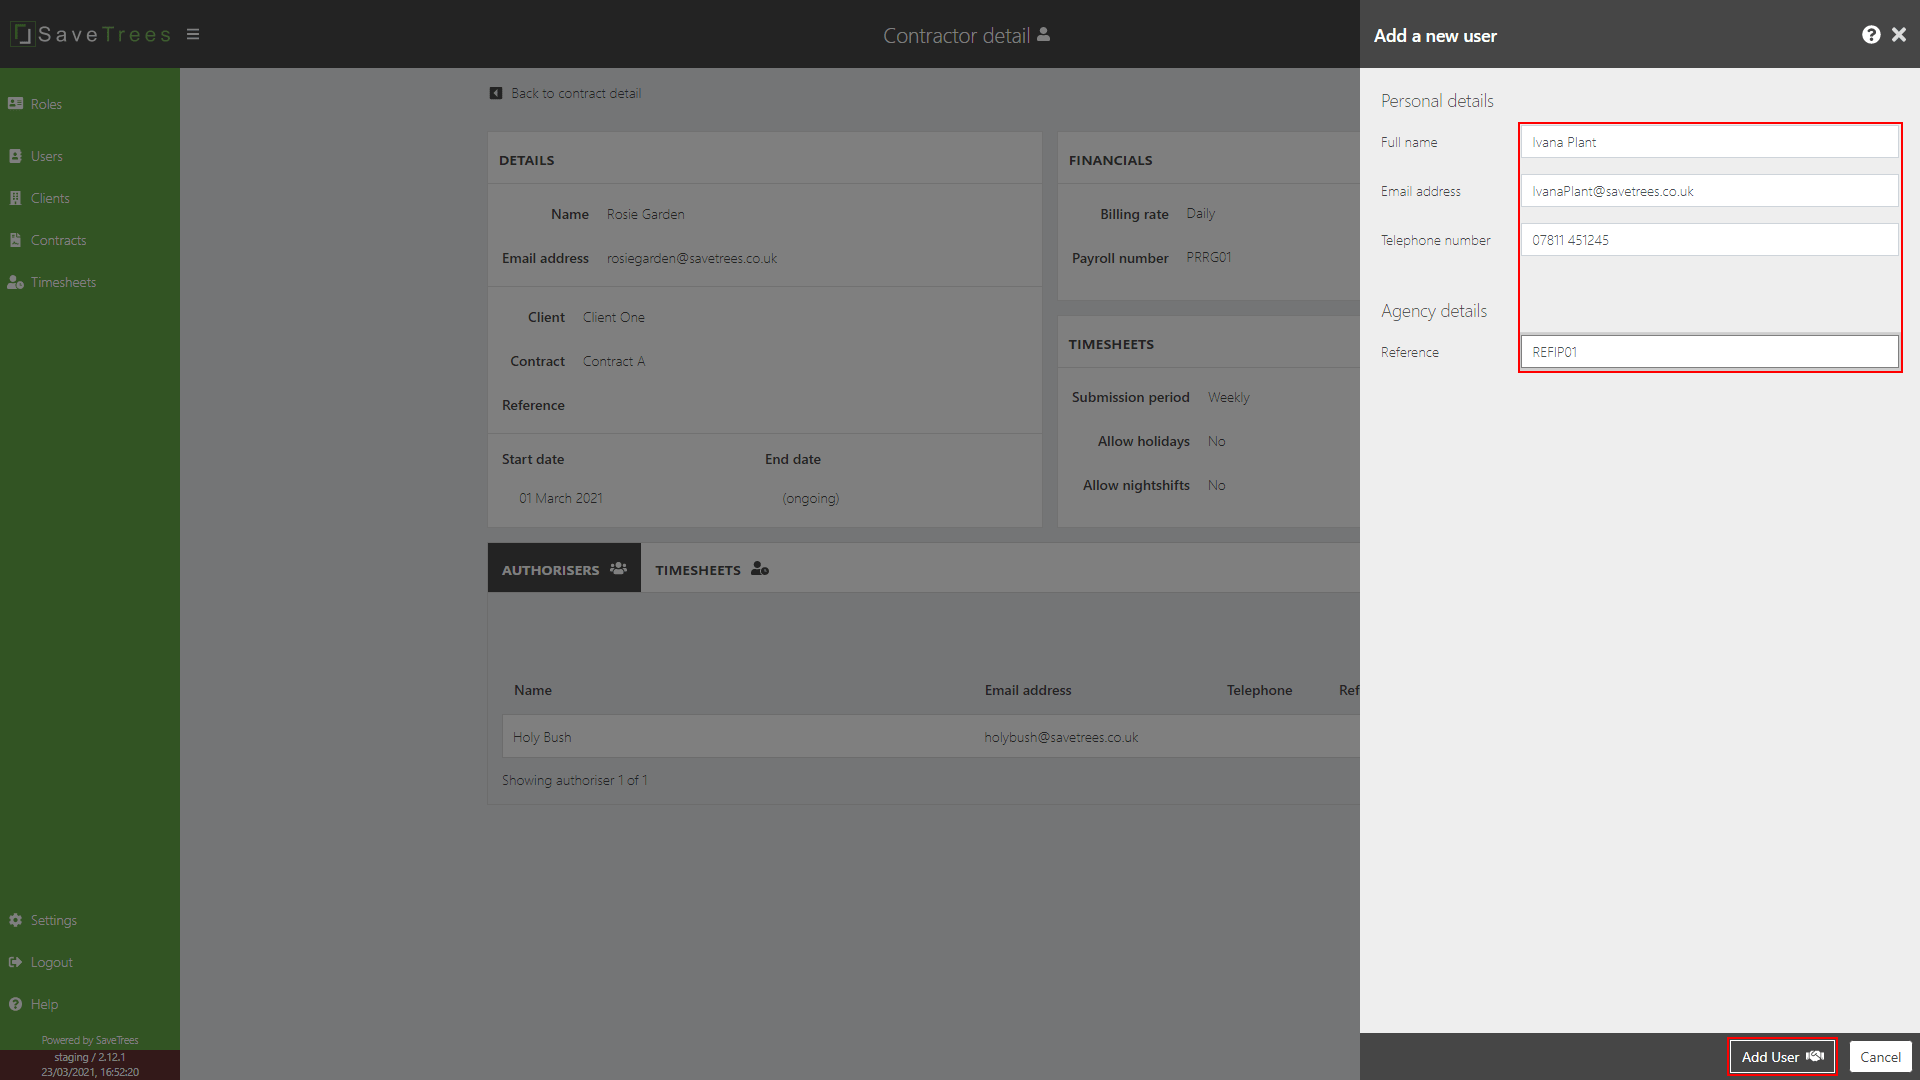
5. Select the authoriser by either choosing an existing user that is already on the system or add a new on one the fly.
Select an existing user:
Add a new user:
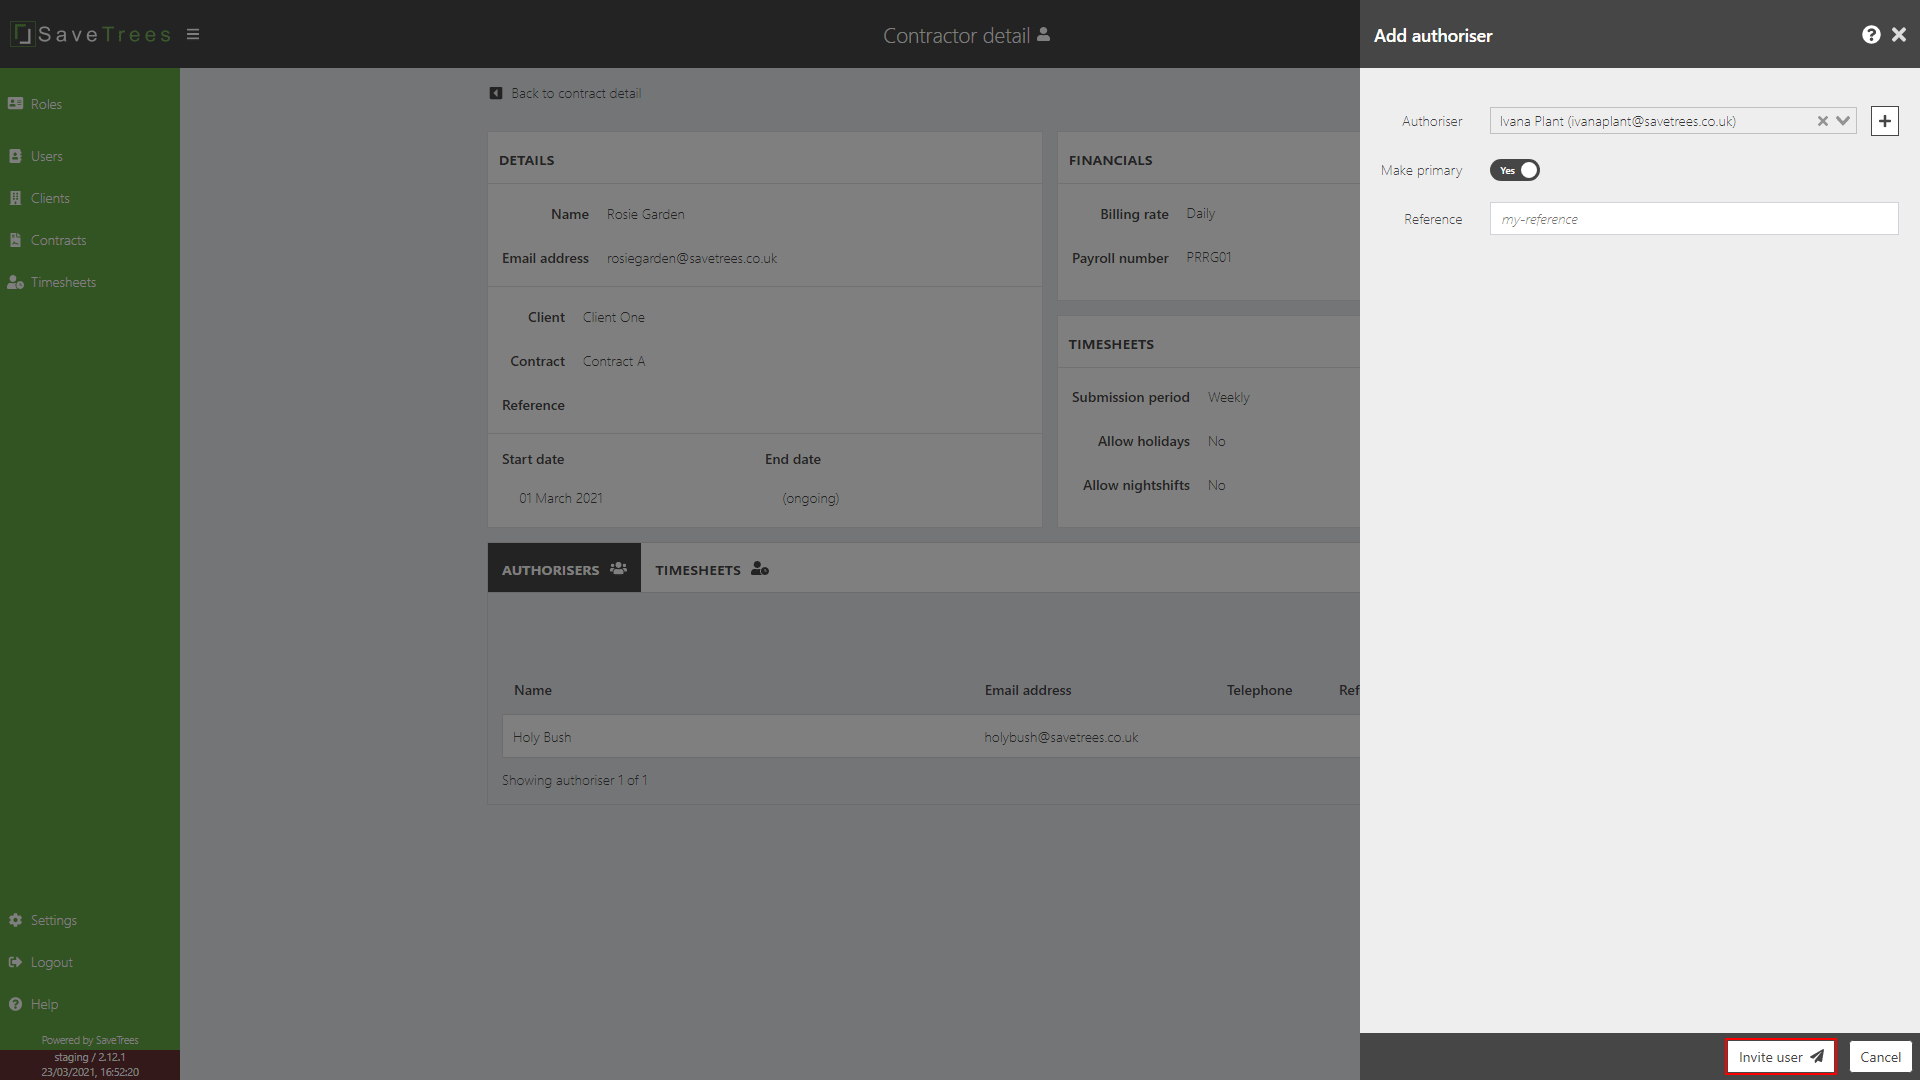
6. Once you have the correct user selected in the dropdown box:
- Choose whether you would like them to be a primary or non-primary authoriser.
- Add a reference, if you like (this is optional).
- Click Invite user. This will send them an email inviting them to start authorising timesheets for that contractor.
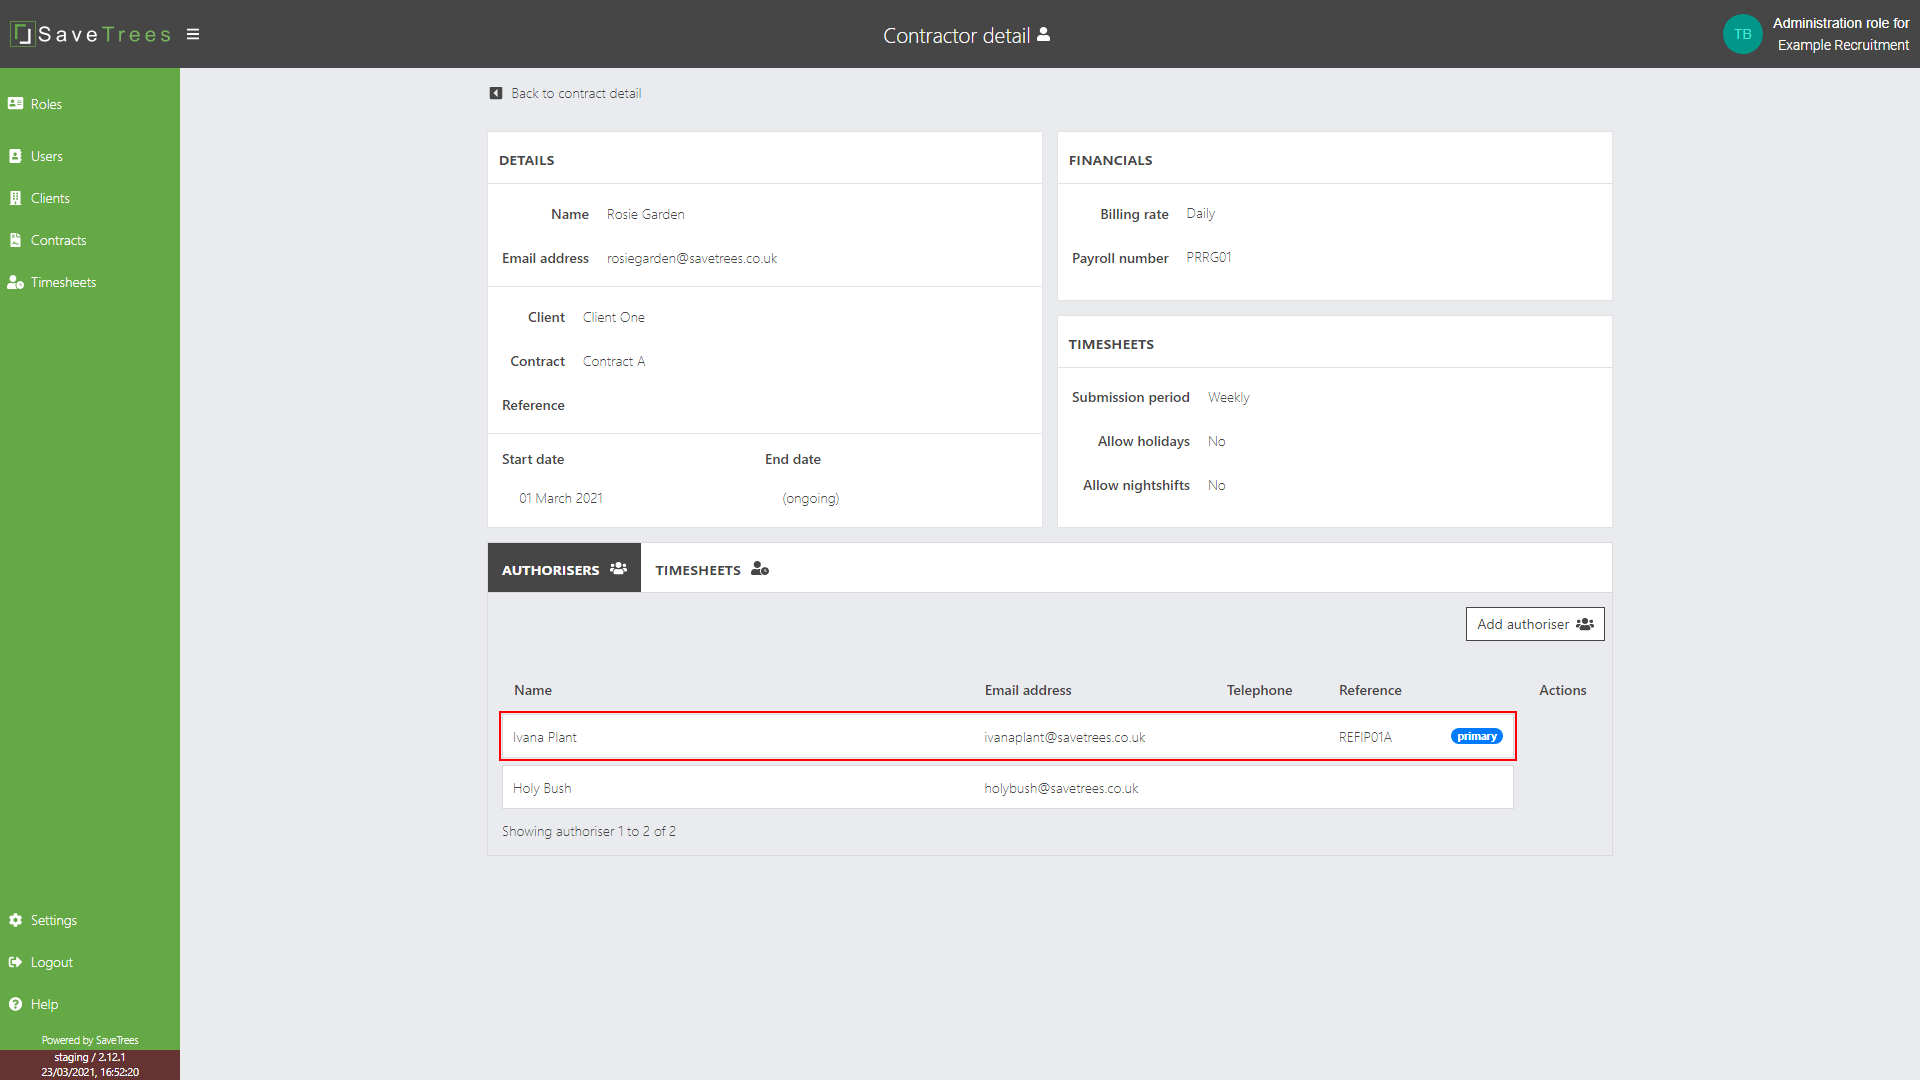
7. The 'Contractor detail' page will now reflect your changes.
Editing existing authorisers
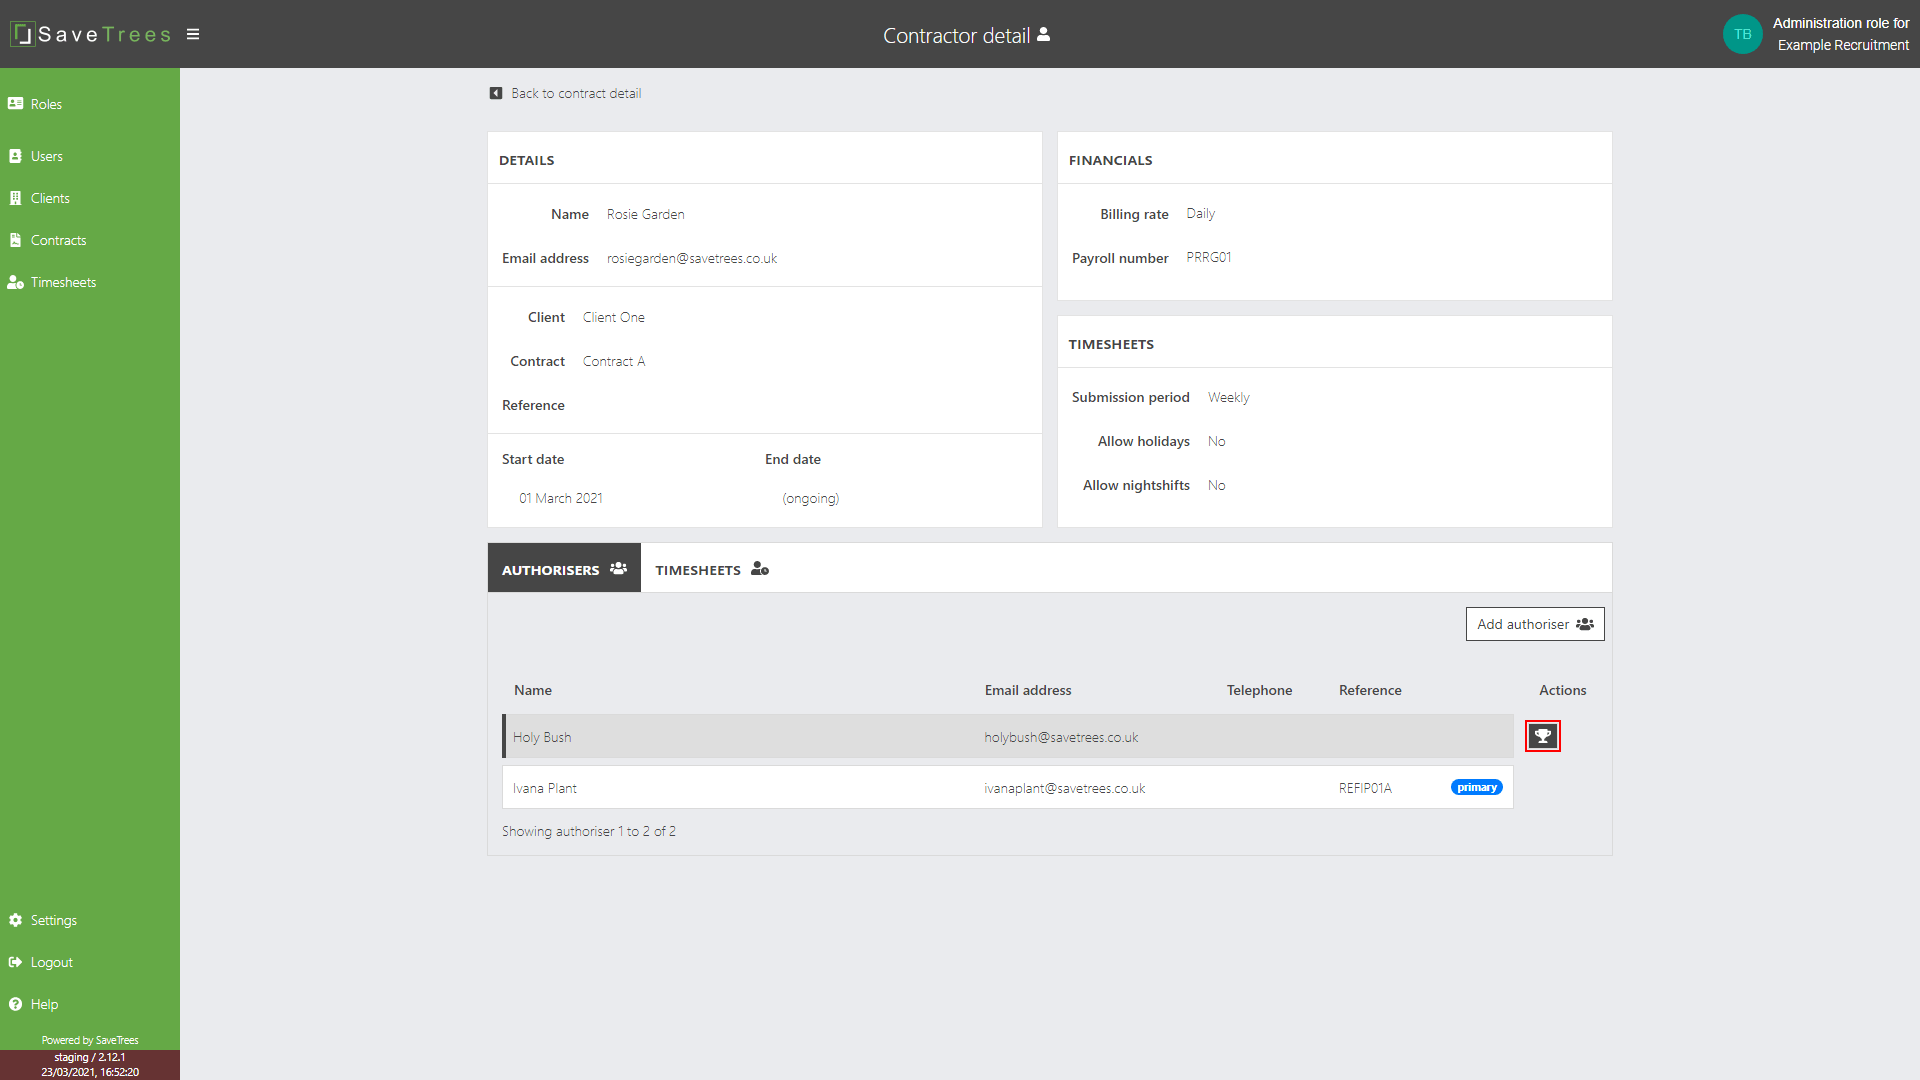
7. If the authoriser is already assigned to the contractor but you would like to make them the Primary authoriser, simply hover over the authorisers row on the Contractor detail page (route explained above) and click on the trophy icon.
This help article was last updated on August 20, 2025
Think this page needs an update? Please let us know
If you have a question that hasn't been answered, please suggest a new help page here
