Introduction
This article will help explain how you can add financial information for new and existing workers on a per day or per hour basis.
Settings
To activate the financials settings:
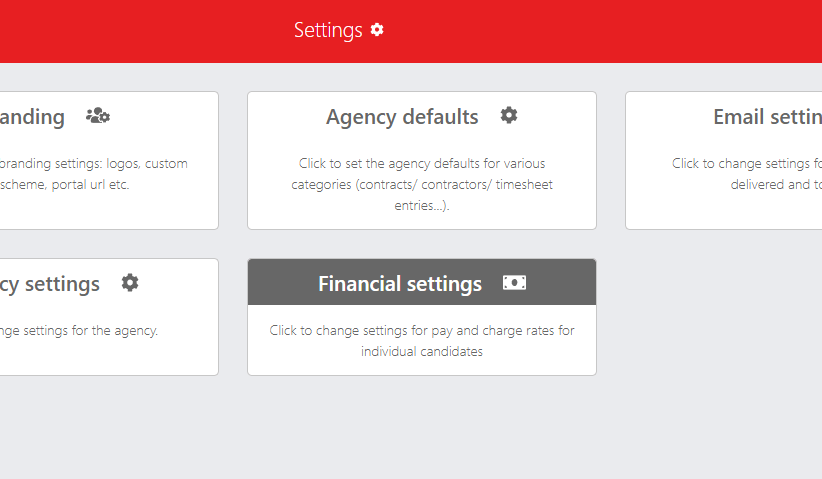
1. Go to Settings > Financial settings
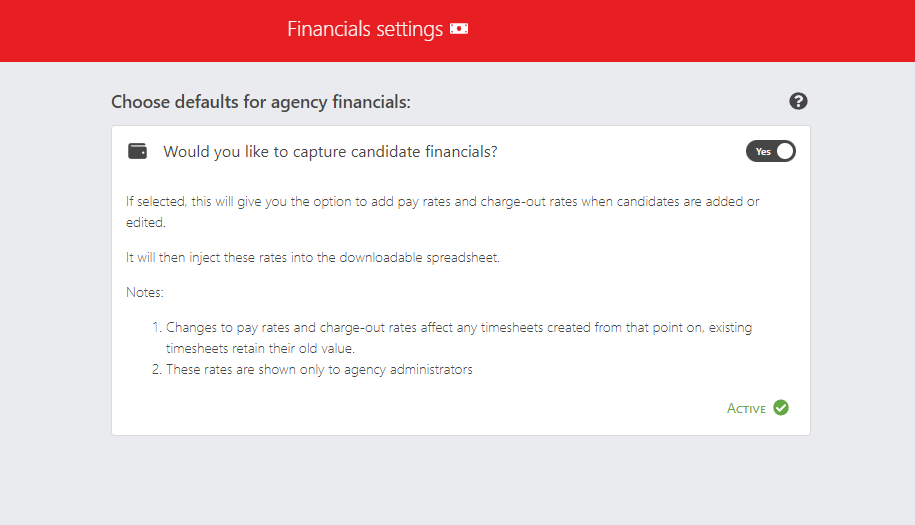
2. Toggle the switch to 'Yes'
Updating existing and new workers
- For help on adding financial data to new workers, please follow the instructions below.
- For help on adding financial data to existing workers, click here.
Adding financials for new workers
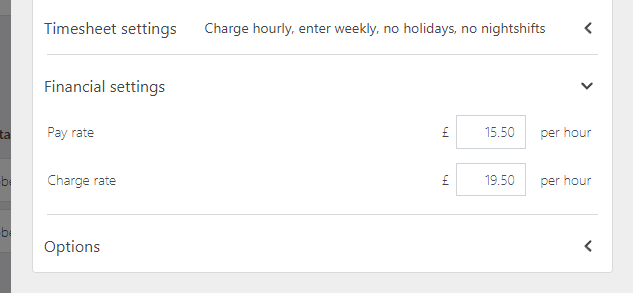
Go to add a new worker (or whatever the term is you've set for your workers) as normal and you will now see the Financial settings section.
In this new section, enter the pay and charge rates.
Carry on adding any additional settings and then click to add them as you would normally.
Updating existing workers
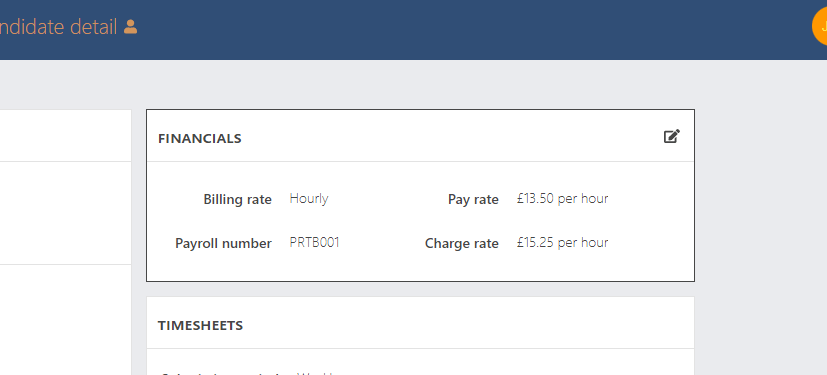
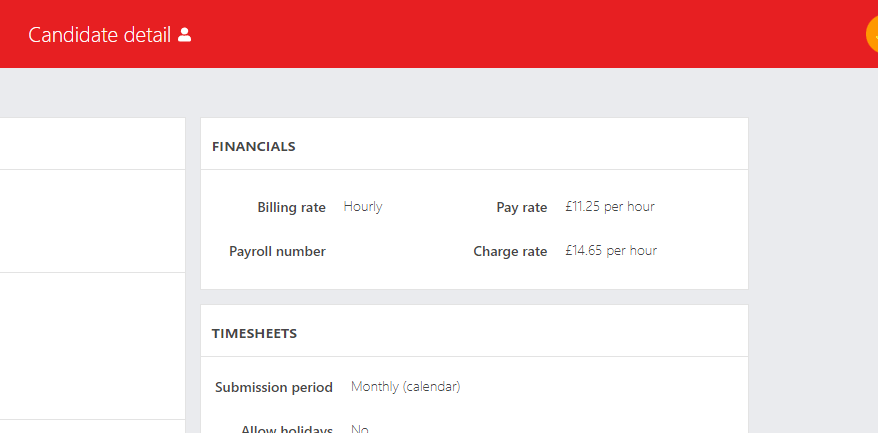
Navigate to the workers detail page and you will notice that the Financials box now contains Pay and Charge rates which will be empty.
Hover over this box and click on the edit icon in the top right.
Enter the pay rate and charge rates.
Click 'Save'.
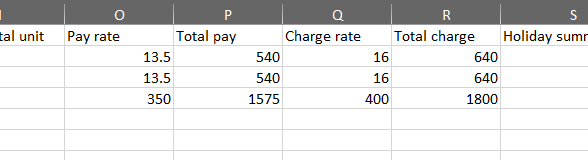
Downloading the new financial data
The new financial data will start populating in the downloads once new timesheets have been submitted by the applicable workers.
Notes
Once these changes are made, the calculations will appear from that moment forward.
If you change the pay rate of a worker after they have submitted hours/days on an older rate, the older rate will still be shown on the download. If you would like to change historical timesheets, you will need to delete and resubmit them.
This help article was last updated on July 1, 2025
Think this page needs an update? Please let us know
If you have a question that hasn't been answered, please suggest a new help page here