Uploading documents to Your timesheet
At SaveTrees, we've made it easy for workers, contractors, and temps to upload documents directly to their timesheets. This guide walks you through the process step by step.
How to Upload a Document
-
Open Your Timesheet
- Navigate to the Timesheets page and select the timesheet you want to upload documents for.
-
Find the Documents Section
- In the middle of the page, you'll see a section labeled Documents.
- If you don’t see this option, reach out to your agency to have it enabled.
-
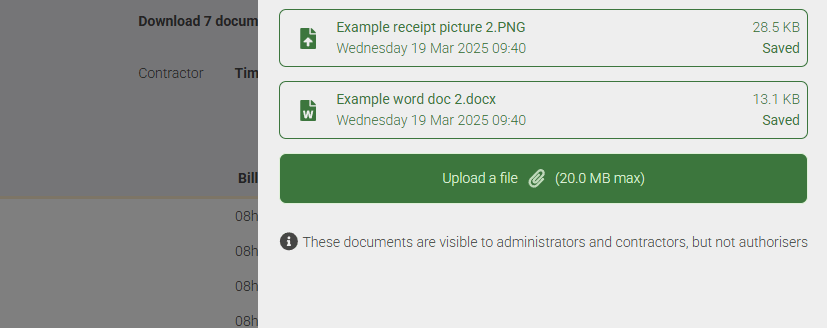
Upload Your Files
- Click Upload a File and select the documents you need to attach.
- You can upload multiple files at once.
-
Manage Your Uploads
- Once uploaded, files will remain pending until you send them for authorization.
- You can delete any file before submission if needed.
-
Submit for Authorization
- When you're ready, click Send for Authorization to finalize the upload.
- These documents are only visible to you and your system admins—your authorizers will not see them.
Viewing Uploaded Documents
- Once a document is attached, a paperclip icon will appear on the timesheet.
- Click on it to review your uploaded files.
- The document count includes both your timesheet and any additional files you’ve uploaded.
Adding More Documents Later
- Need to upload more? Click the Documents button on the timesheet to attach additional files at any time.
That’s it! Uploading documents is quick and simple, but if you have any questions, visit our Help Centre or contact your agency admin for assistance.
This help article was last updated on July 1, 2025
Think this page needs an update? Please let us know
If you have a question that hasn't been answered, please suggest a new help page here